@lahirunc it'll be great :heart:
Posts made by dev_lak
-
RE: Xamarin Mobile Development - English Tutorials will begin soon...posted in Hybrid App Development
waiting for this :heart:
-
RE: Stepping on Unreal Engine for the First Timeposted in Game Development
@ciaompe exactly brother....
-
React JS Introposted in Front-End Development

What is React JS
- React is a JavaScript library for building user interfaces.
React Components
-
Everything in React is a component, and these usually take the form of JavaScript classes. You create a component by extending upon the React-Component class.
Eg:class MyComponent extends React.Component { render() { return <h1>Hello world!</h1>; } } -
You then define the methods for the component. In our example, we only have
render()method. -
Inside
render()you’ll return a description of what you want React to draw on the page. In the case above, we simply want it to display an h1 tag with the text Hello world! inside it.
Props and States
-
There are two types of data in React: props and state.
-
The key difference is that state is private and can be changed from within the component itself. Props are external, and not controlled by the component itself. It’s passed down from components higher up the hierarchy, who also control the data.
-
The difference between the two is a bit tricky to understand in the beginning, so don’t worry if you find it a bit confusing. i'll show you how to work with props and states in the next tutorial.
Setting Up
-
First create a
.htmlfile -
Then import react like below
<!-- ... other HTML ... -->

  <!-- Load React. -->
  <!-- Note: when deploying, replace "development.js" with "production.min.js". -->
  <script src="https://unpkg.com/react@16/umd/react.development.js" crossorigin>    </script>
  <script src="https://unpkg.com/react-dom@16/umd/react-dom.development.js" crossorigin></script>

</body>
Add a DOM Container to the HTML
-
Add an empty
<div>tag to mark the spot where you want to display something with React. For example:<!-- ... existing HTML ... --> <div id="save_button_container"></div> <!-- ... existing HTML ... --> -
We gave this
<div>a unique id HTML attribute. This will allow us to find it from the JavaScript code later and display a React component inside of it.
Creating a React Component
-
Create a file called
save_button.jsnext to your HTML page. -
Add below code to
save_button.jsfile'use strict'; const e = React.createElement; class SaveButton extends React.Component { constructor(props) { super(props); this.state = { saved: false }; } render() { if (this.state.liked) { return 'You saved this.'; } return e( 'button', { onClick: () => this.setState({ saved: true }) }, 'Save' ); } } //These two lines of code find the <div> we added to our HTML in the last step, and then display our “Save” button React component inside of it. const domContainer = document.querySelector('#save_button_container'); ReactDOM.render(e(SaveButton), domContainer);
Loading our React Component
<!-- ... other HTML ... --> <!-- Load our React component. --> <script src="save_button.js"></script> </body>- Open the
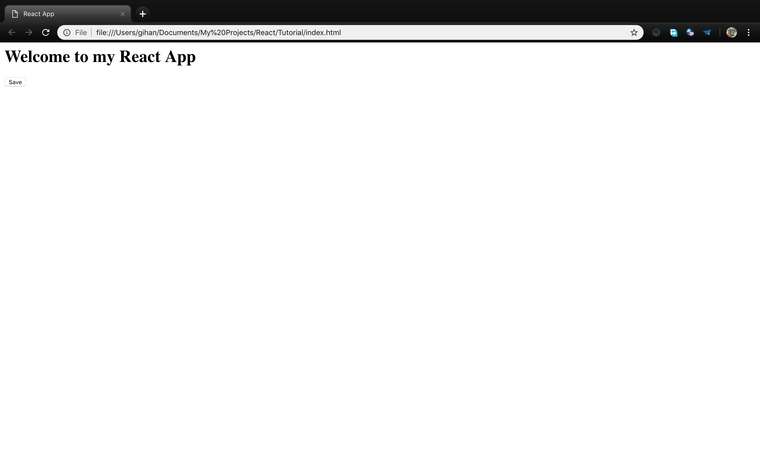
.htmlfile you create using your favourite browser and you will see something like below:

Full Example
-
index.html<html> <head> <title>React App</title> </head> <body> <h1>Welcome to my React App</h1> <div id="save_button_container"></div> <!-- Load React. --> <!-- Note: when deploying, replace "development.js" with "production.min.js". --> <script src="https://unpkg.com/react@16/umd/react.development.js" crossorigin></script> <script src="https://unpkg.com/react-dom@16/umd/react-dom.development.js" crossorigin></script> <!-- Load our React component. --> <script src="save_button.js"></script> </body> </html> -
save_button.js'use strict'; const e = React.createElement; class SaveButton extends React.Component { constructor(props) { super(props); this.state = { saved: false }; } render() { if (this.state.liked) { return 'You saved this.'; } return e( 'button', { onClick: () => this.setState({ saved: true }) }, 'Save' ); } } //These two lines of code find the <div> we added to our HTML in the last step, and then display our “Save” button React component inside of it. const domContainer = document.querySelector('#save_button_container'); ReactDOM.render(e(SaveButton), domContainer);
Thanks for reading, in the next tutorial i'll talk about
- Props and States
-
AngularJS Guide Part 1 - Englishposted in Front-End Development

Angular JS is a client side MVC/MVVM Framework, this is created by google so most of developers adopted to angular js. This is very popular for single page web applications and also we can do lot of things using angular js. Ionic framework is best example that showing power of angular which is used to make Hybrid Mobile Applications using HTML, CSS and Javascripts only.
To install the Angular JS we want Node JS on our computer, and we use Angular CLI to create, test, build and deploy our angular app.
Installing Node JS
www.nodejs.org go to this website and download right package match to your OS. You can find out instructions on that page
Installing Angular
After installing node js we need to install Angular CLI, to install that open your terminal and run
npm install -g @angular/cliCreating an Angular App
After installing Angular CLI, navigate to where you want to create angular project and then run following command in the terminal
ng new my-app //my-app is your project nameWhen you run this command it will ask you information about your app, for now just press enter, we can change these info later
Running our Angular App
Navigate to your app directory
cd my-appAfter you navigating to app folder you can run your app using
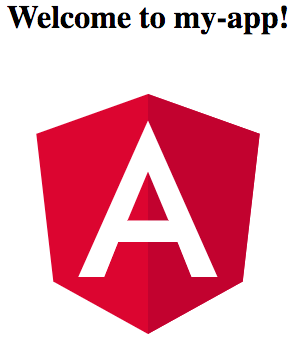
ng-servecommand. When you run this command it will start a local server and when you made a change it will automatically reloads the app(auto reloading) this is a very useful feature.ng serve --openWhen you run above command it will automatically open the app using default web browser(http://localhost:4200/), if not try rerunning the command. On successful execution you can see like below

On the next step i'll show you how to edit our app. If you have any question just ask on lankadevelopers.com our members will help you.
Originally posted by @ciaompe
This is translated cause of most peoples are requesting an english version.Source : https://angular.io/guide/quickstart
-
RE: I want to change map icon as location conditionposted in Back-End Development
try
icon : locations[i][6] == 3 ? black_icon : purple_icon, -
RE: I want to Enter my radio button value to the database in phpposted in Back-End Development
@akashmanujaya i have done small change to code, try this
function saveData() {
        var confirmed = document.getElementById('confirmed').checked ? 1 : 0;
        var id = document.getElementById('id').value;
        var Condition=$('input[name="Condition"]:checked').val(); //check this line

        var fd = new FormData();

        fd.append('confirmed', confirmed);
        fd.append('id', id);
        fd.append('Condition',Condition); //uncomment this line
}